I had planned to spend part of the weekend sewing, but when a couple of unfinished projects caught my eye, they kept on looking at me in 'that way' to remind me that they had been languishing unfinished for far too long.
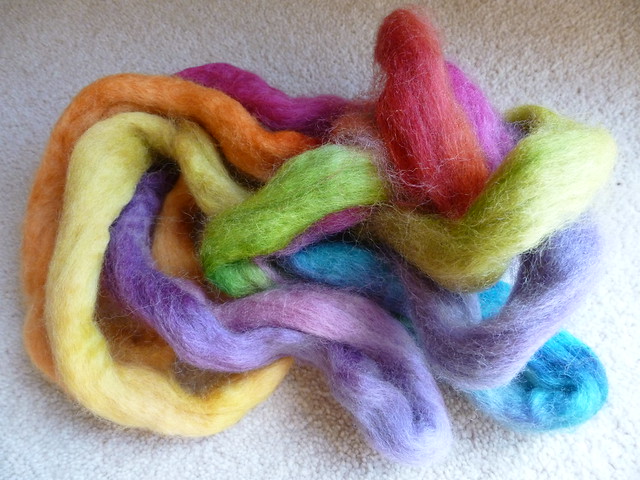
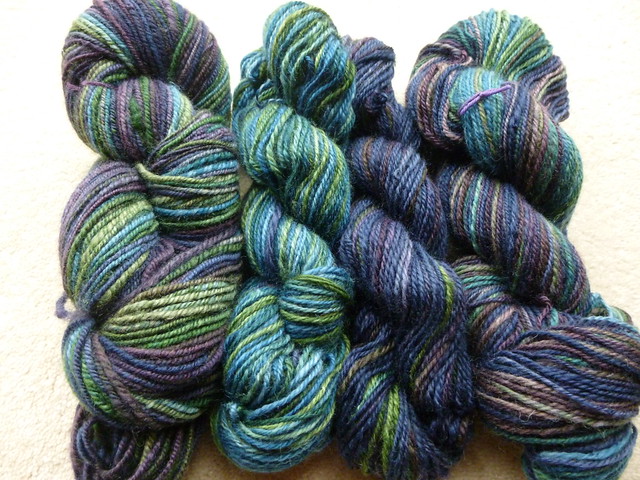
First, some gorgeous fibre that I spun up way back in July (I am having the decency to blush!) and then never got round to plying. I even put the bobbins on the shelf in the lounge so they would be handy whenever I had an odd half hour. But somehow, I managed to ignore them! As I have plans for some more spinning in the near future, I told myself sternly that I couldn't start anything new until those bobbins had been plied. (A bit like your Mum telling you that there's no pudding until you have eaten up all the main course!) I don't really know why I put it off for so long, because once I started plying, there was no stopping me. Mr JK went out for a run first thing this morning, and by the time he had returned, I had done almost half of it.
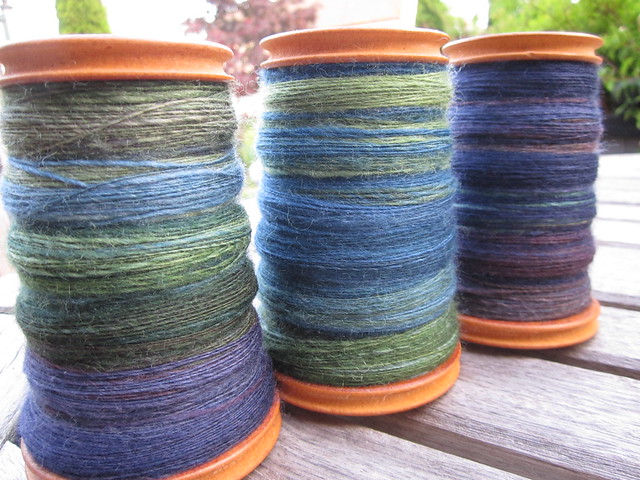
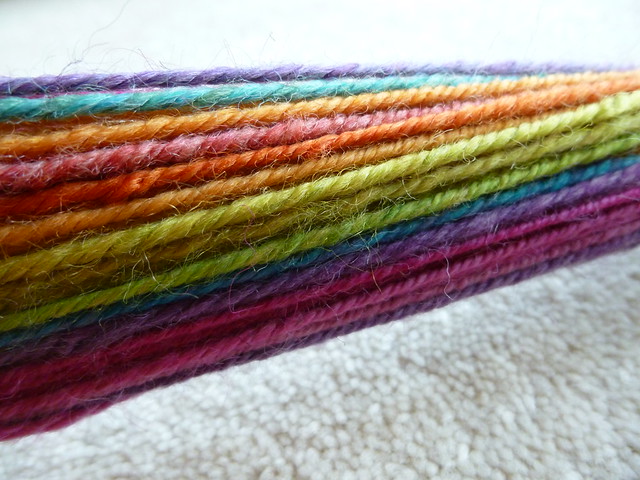
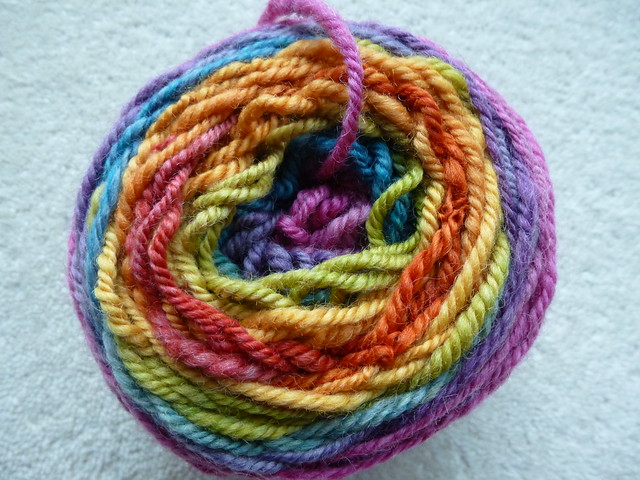
The skeins still need to be soaked (which I shall be doing right after I have published this blog post, honest!), but I reckon I have about 550 metres of sportweight yarn. I am hoping to knit a stripy cardigan with it......................................................sometime!!! Here's how the yarn looks pre-soaking.
The second project was one I started when I went to the Knitting and Stitching show at Ally Pally a few weeks ago. I took a wet felting class with
Laura Guida and by the end of the hour long class, we had each made a strip of felt. Laura provided us with a kit to complete the project, and I have finally done mine! I don't think I shared many details of the class with you, so here's a brief summary.
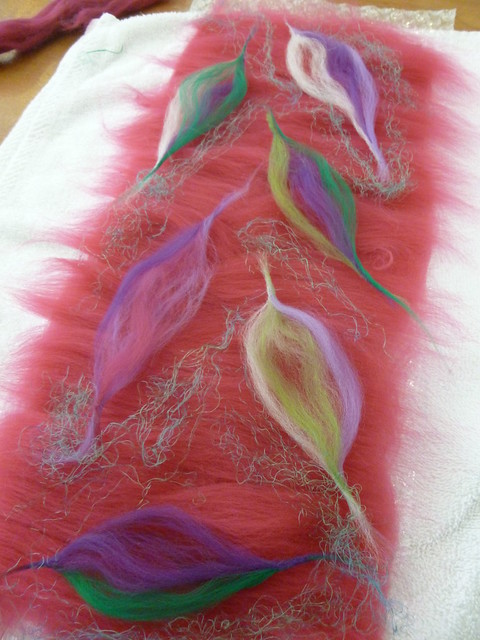
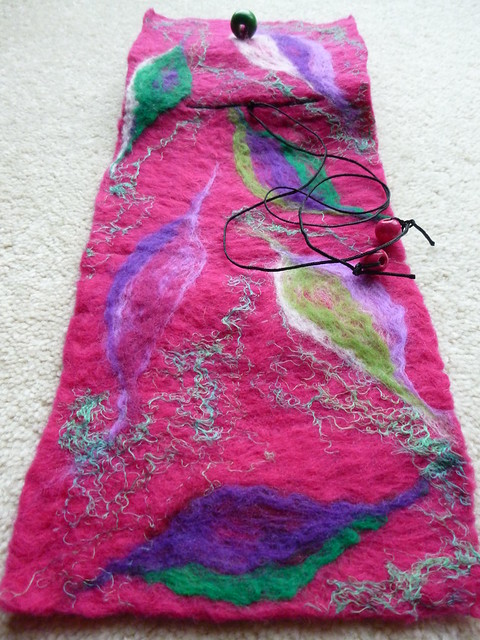
You have to lay strips of drafted roving (we used merino) to cover a rectangle of bubble wrap, and then put a second layer on top going in the opposite direction. You can then add twists of other colours as well as tiny amounts of silk fibres (we used silk thrower's waste) to add some decorative features. You can see that I made some leaf shapes with my contrast colours.
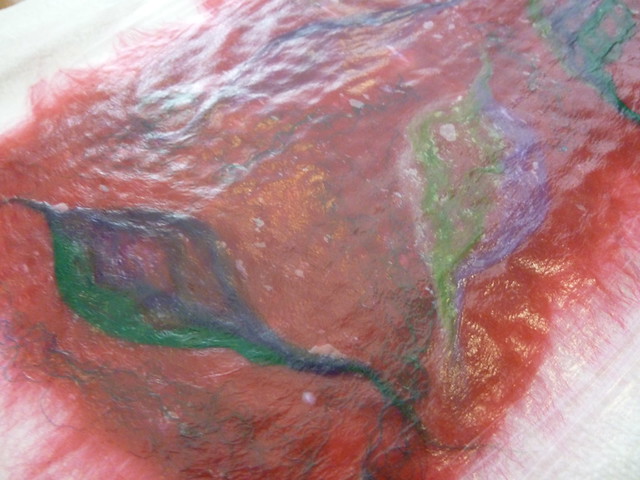
Then, very carefully, you have to soak the fibre using soapy water. The wet, soapy fibre is then covered with a piece of thin plastic (we used pieces of throwaway dust sheets from a DIY store) before flattening it with the palm of our hand to get rid of any air bubbles. Using a gentle circular motion on top of the plastic begins the felting process.
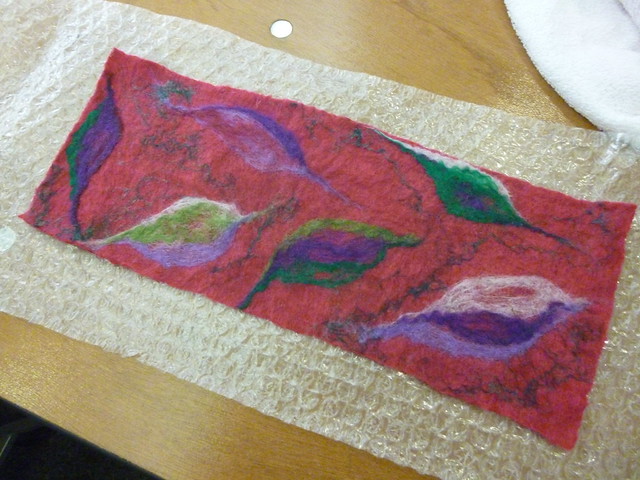
The whole thing then gets rolled up inside the bubble wrap (and a towel) so it can be rolled back and forth. You have to change the direction you are rolling from (both the long and short edges) and keep checking to make sure it doesn't go out of shape. You will see it shrinking and felting before your very eyes! It needs to be kept wet, so you might need to add more soapy water. Laura made this using unperfumed bathroom soap in water, not washing detergent as this makes too many bubbles. You have to tidy the edges as you go and before long, you have a piece of felt. I was surprised by how fast it happened.
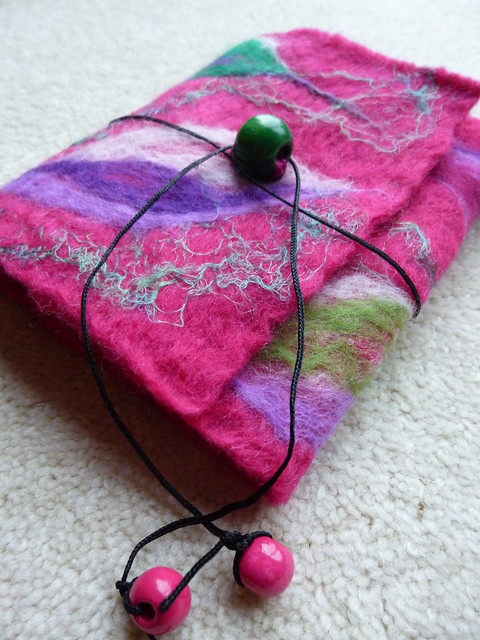
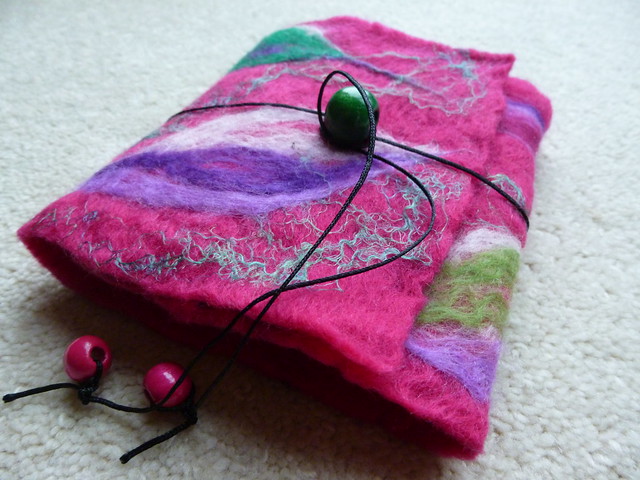
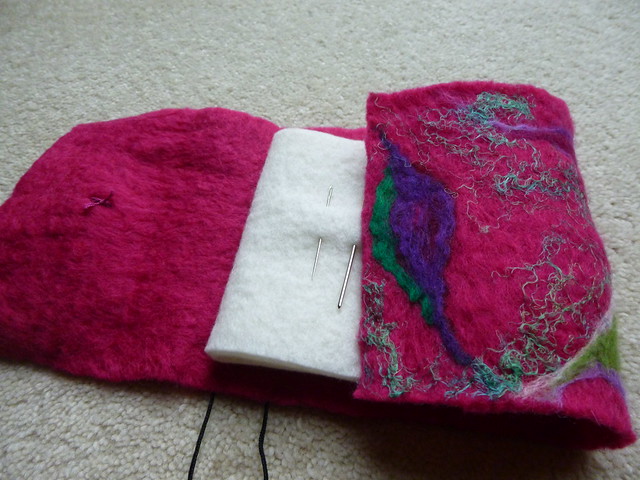
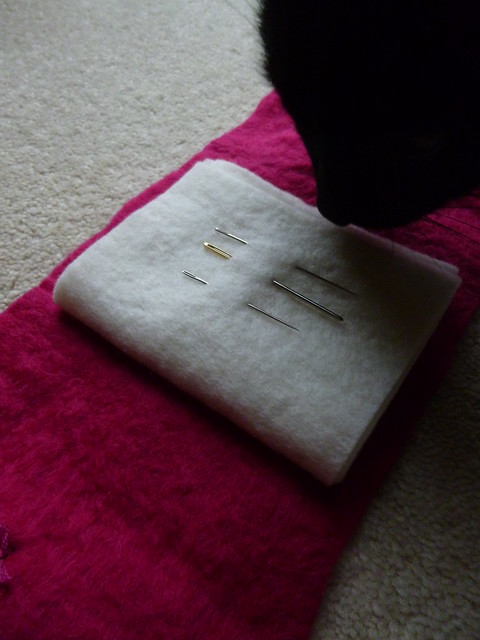
The above photo was how my felt looked at the end of the class. When I got home, I rinsed out the soapy water and left it somewhere flat to dry. And there it has stayed until recently! I followed the rest of Laura's instructions to turn it into the cover for a needle book. Voila!!!
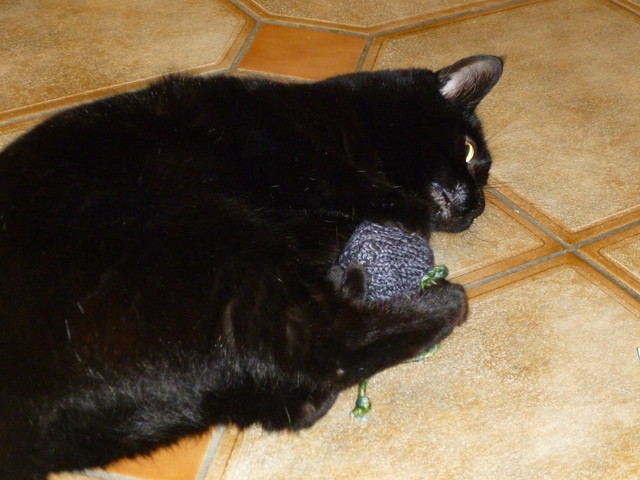
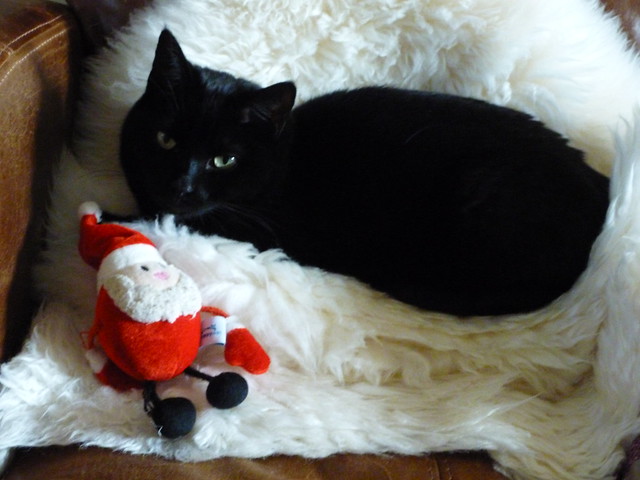
It's a quick and fun way to make felt and I shall definitely be using it with the kids at school. Flo is thinking about the possibility of a felted cat bed! She brought her first mouse in this weekend so is feeling like a proper grown up pussycat!
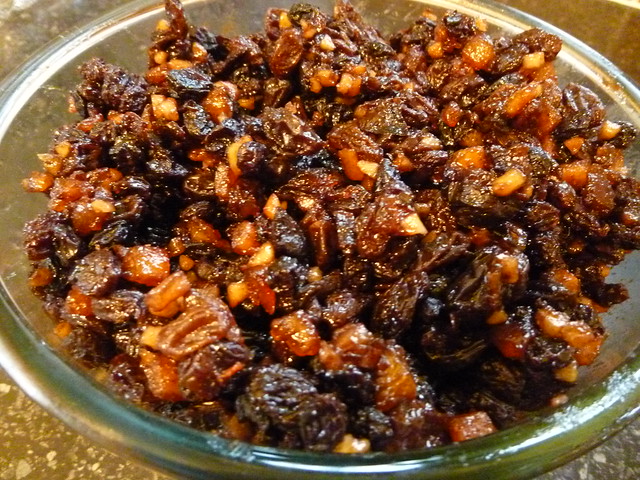
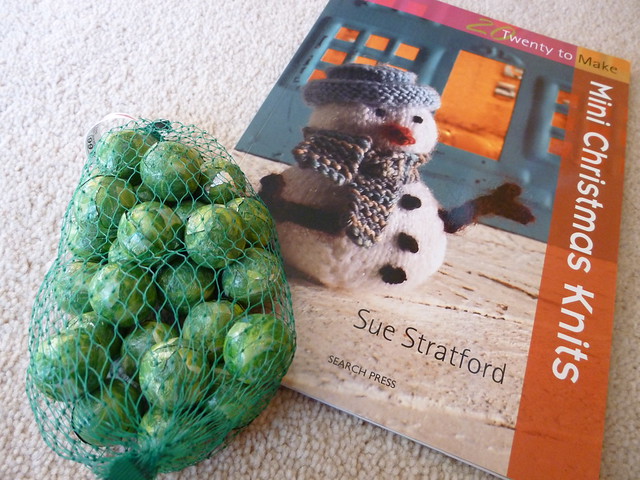
Before I go, I must just share this with you! Can you guess what it is? (It's not Christmas pudding!) See what it turns into next weekend! xxx
